Laundry baskets full of our clothes is a great incentive to keep going on a project.
I could handle digging through clothing when I was living on my own for the first years.
Now, I really like to be able to grab what I need without any fuss.
Removing the dressers really trashed the bedroom.
I was determined to build the shelf in one day.
This isn't a beginner's project but it is easier than it looks.
The same principles apply to whatever wood you may have.
Here is a great tip:
If you must buy wood for a project, try to buy construction grade lumber.
Construction lumber is the cheapest wood per board/foot.
The wood is usually spruce, fir, or red pine.
I love the look of S-P-F lumber. It has twice the character of white pine and is stronger.
Hand pick your pieces. Look for features that you like.
Many of my projects are built with stud grade 2x4s.
With the right tools, you just turn the boards into whatever size and shape you need.
I have a pile of flooring so that is what I am using for my projects right now.
I am picking through my pile so that I still have good wood to use for flooring when that comes up.
Always start with a detailed plan.
Actually, sometimes you have to make it up as you go. Though a little sketch can keep your bearings straight.
If your project demands straight wood, don't depend on the jointer to fix really warped wood.
The jointer removes wood to do it's job. You may end up with nothing but sawdust if you are trying to straighten badly bent boards.
This project needed grooves cut into the face of the boards.
I used my radial-arm saw.
You can use the table-saw for this.
If you are getting serious about woodworking, and you're considering a router, then here is where it comes into play.
I am not very good with the router so I avoid it when I can. I think that a proper router table would make it easier to work with, rather than using it by hand with homemade jigs to keep straight.
As I gain experience, I have been trying to cut down on the number of fasteners that I need to use.
Someday, I'll get more into joinery where there are no metal fasteners at all.
Using the grooves helped eliminate a lot of fasteners in this project.
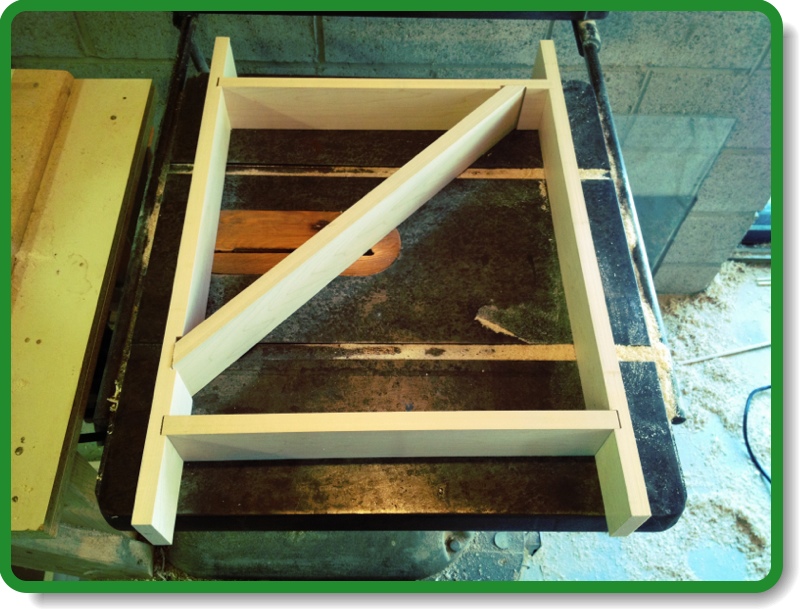
Basically, I just made three shelf brackets instead of buying them.
Taking the time with simple applications will provide valuable experience for more complex tasks.
Being precise with measurements is important for this sort of job.
Mind the pencil lines and keep your square handy.
There are five screws in this piece. One for each contact point.
The table saw makes a handy bench. It is about as flat as it gets.
You may notice that I kept the time down by only making three types of parts.
Getting too complicated or varied adds time when you re-tool the gear.
Where the fasteners are, you must pre-drill the holes.
A wood screw can find it's way into wood without a hole to follow but you risk cracking or splitting a piece that you spent a lot of time on. Trust me on this one. I still take the lazy route sometimes and I am usually punished for it.
Countersinking the holes to accommodate the screw heads makes for good fit and finish.
I used a standard drill bit but there are proper tools for this job.
Notice the smaller holes. One is to allow the screw complete clearance through the top piece. Then, the smaller hole gives an interference fit to allow the screw to enter the wood without causing damage, yet allows the threads to bite the wood.
Good luck tracking down your wall studs.
(Drywall anchors are for picture frames only.)
Today, I missed one altogether, and another was way out of place.
I had to compromise on the symmetry of the shelving.
I didn't even use any fasteners to hold the boards to the brackets. The weight of the wood and the fit will keep the boards in place.
This is where I stopped for the day.
I won't finish the wood. It looks great the way it is.
The next step is to hang something below it to hold the clothing that is kept on coat hangers.
I've got a couple of ideas, but I think I'll sleep on it before I decide.
If you like this design and you want to build it, then go ahead.
If you have any questions or need any help, just ask me.
If you want to use any of my pictures, well you can do that too.
They are just captured moments in time; I don't own them.
How could I?


No comments:
Post a Comment