Wednesday 11 December 2013

Honey Spelt Shortbread Cookies, by Kira


These cookies are simple and delicious.

Ingredients

1 cup of butter
1/3 cup of honey
1 tsp of vanilla extract
1 1/2 cups of spelt flour
1 cup of arrow root flour.

Preheat oven to 300F

Using electric mixer, mix the butter, honey, and vanilla until light and fluffy.
Add in the flours until combined.
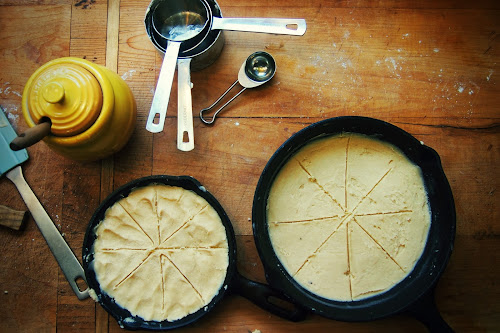
Press dough into dry cast iron pans. Score the surface of the dough into wedges.
Bake for 35 minutes or until lightly browned.
Let cool completely and cut into wedges.


Monday 9 December 2013

Drying Laundry without a Dryer, by Kira


I thought I would miss my dryer when it died.
We knew it was coming; it had a horrible squeak when it ran,
and gradually took longer to get started.
Eventually, it just stopped drying clothes,and we deemed it not worth repairing.
At first I did miss it.
I guess for the most part it was the convenience that I missed;
if you needed something dry now, you could run it through the dryer and have it ready in a matter of minutes.
It was also missed for it's ability to dry the cloth diapers thoroughly.


It's been two years now without a dryer.
It wasn't missed for long.
It just took a while to get into a rhythm and working out drying details.


We have an outdoor clothes line that Andrew installed within the first year of moving into our home, which was about 9 years ago.
The second was put up shortly after the loss of the dryer.
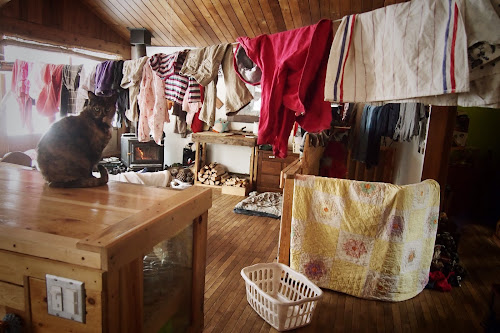
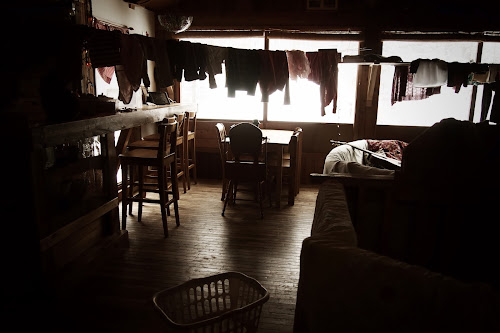
Since then, two more lines have been added indoors.
One is a line that goes through the middle of our living room, which I usually only fill before bed and empty early morning.
The other line is the seed shelf that Andrew built last spring for holding my seedlings.


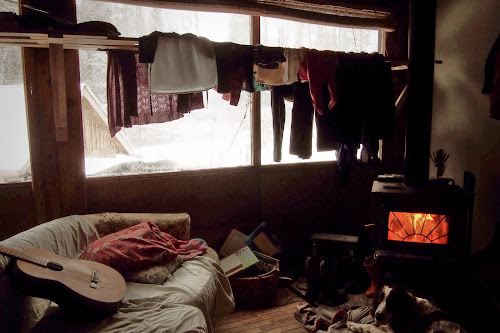
The woodstove really does work wonders for drying clothes.
If it wasn't for the woodstove it would be slower.
I can do three large loads of laundry in the evening, fill all the lines in the living room and have it all dry by morning.
The most difficult time for me to dry laundry is during the hot
and humid summer days.
If I get too far behind on these humid days I sometimes hang the clothes indoors and light the woodstove.
Some may call that crazy for making it hotter.
But the temperature doesn't normally rise much.
What it does is dry my clothes and also cuts the humidity in the house.
We also started to be more mindful of what was actually dirty before just throwing it into the dirty clothes pile. (Yes, a pile, not a hamper.)
Now that we're diaper free, (yay!) the laundry has been cut back even more.


This past year I dried more inside than outside.
There just wasn't that much prime drying weather.
The key to going without a dryer is having the right kind of set up in your home.
For me it's lots of lines and a running the woodstove.
 
By the way,
here is a link to my laundry soap recipe.
I felt it was appropriate. ;)


Saturday 7 December 2013

Roasting Our Beans, by Kira


A little glimpse into feed making.
One ingredient that goes into our chicken feed is soybeans.
Andrew buys organic soybeans to use as the main protein component.
Many animals aren't able to properly digest raw soybeans.
So, to make the beans easier to digest we roast them.
 
Our clothes dryer died a couple winters ago, and we became a dryer free home.
We held on to the dryer until we found a use for it.
This past summer it became our soybean roaster.
Andrew removed the drum from the dryer and now it sits on the cookstove inside the school house
(which is nearing completion, I will share photos soon).

The cookstove is on most days,
with dinner slowly cooking inside the stove and beans roasting in the dryer drum on top.
Once the beans are roasted they are ready to go through the feed mixer with the rest of the grains and mineral supplements.


Friday 22 November 2013

Paisley Frost & Minty Winter Tea, by Kira


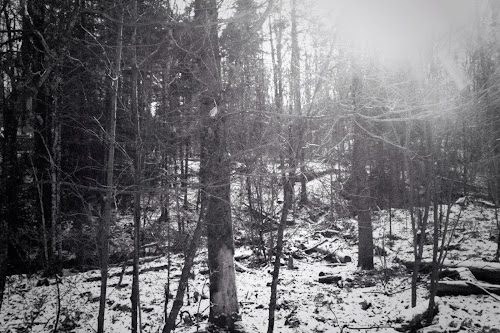
With the rain turning to snow, we have found ourselves spending more time outdoors.
The once familiar forest behind our home has turned into a magical white land,
fresh and new to explore.
With cold runny noses and rosy red cheeks we have been poking around the woods, looking for tracks and checking out snow flakes.
Not far, there is a favourite big rock with mounds of green moss,
frozen into perfect form.
Fern loves how Jack Frost paints white paisley frost across the black ice on the creek.

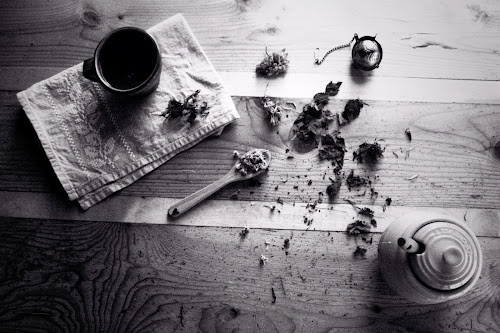
Our winter walks have been followed by a hot tea in front of the woodstove; either a cup of chaga with maple syrup or a fresh minty tea from our garden.
The bees love our summer tea garden as much as we do.
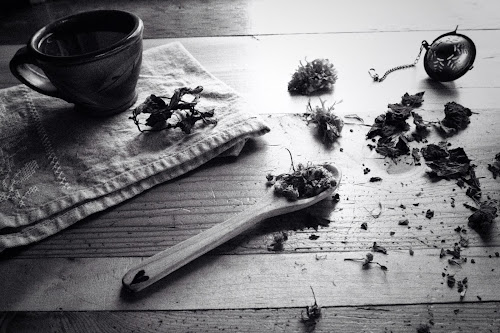
There is calendula, peppermint, spearmint, catnip, bee balm, oregano, chamomile, sage, and lavender, each blossoming throughout the summer and harvested in the fall.
I hung and dried the herbs in the kitchen, then packed them into jars for the Winter.
They are great for adding to baths, infused oils, and of course, tea.

For our Minty Winter Tea:

6 cups water
Two calendula heads
One tablespoon catnip
One tablespoon bee balm
One teaspoon chamomile
Two tablespoons peppermint
Raw honey to taste
Bring 6 cups of water to a boil and let cool slightly.
Add the herbs to the water and let stand for about five minutes.
Strain the tea into cups and sweeten with a little raw honey.

This is best enjoyed after a cool Winter walk,
or with a good book and a cozy blanket.


Thursday 14 November 2013

Apple Hand Pies, by Kira


Mmmm pie......

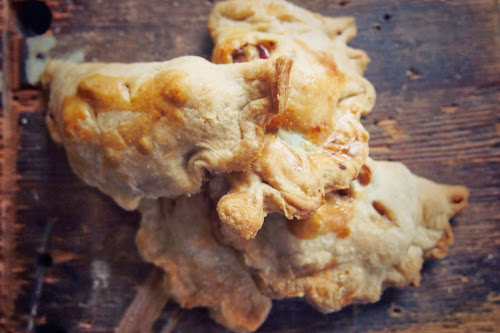
With an abundance of apples and left over lard from last years hogs, Fern and I thought we needed to make apple hand pies.

For the crust, I adapted the basic crust recipe from A Year Of Pies, by Ashley English.

2 1/2 cups of spelt light flour
1 1/4 teaspoons of salt
6 tablespoons of butter
3/4 cup of lard
One egg + 1 tablespoon of apple cider vinegar + enough ice water to equal 3/4 cup.

In a large bowl mix the salt and flour together.

For the lard and butter, I put it through the shredder in my food processor frozen.
(The key to good pastry is to keep everything cold and don't overwork the dough.)

Mix the shredded lard and butter with the flour.

Slowly drizzle the water, egg, vinegar mixture over the flour and lard.
Work the mixture together until it all sticks together. You may need a little more liquid.
Refrigerate for at least an hour.

Dice six apples and toss with a little lemon juice, a tablespoon or two of raw honey, and lots of true cinnamon. I also added a handful of chia seeds to the mix!


Preheat the oven to 350.
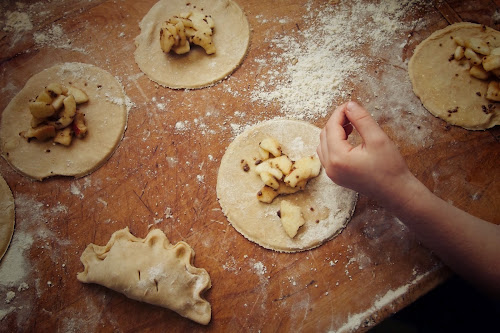
Roll the pastry out and using a medium size soup bowl cut circles out of the pastry.

Add a tablespoon or two of your apple mixture into the middle of the circles (or however much fits comfortably).

Using a little egg and water mixture , paint the rim of the circles (this helps to seal the pies).

Fold the circle in half and flute the edge.

Bake the pies on a cookie sheet for about 30 minutes or until golden brown.

They are wonderful served with fresh cream and black coffee.


Friday 8 November 2013

Saving Asparagus Seed, by Kira


This past spring the kids and I foraged asparagus from the forest.
There is an abundance back there but becomes hard to search for it once the black flies come into full swing.
We did, however, pick enough for a couple meals.


Heading out this fall and seeing all the asparagus fern got me thinking;
I should plant my own asparagus garden, close to home.


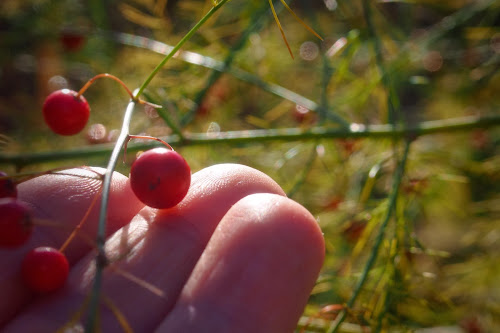
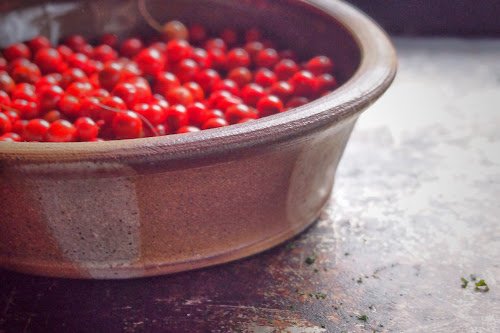
The kids and I found this beautiful female asparagus fern that was covered in bright red berries.
We cut it off and brought it home with us, all the while discussing where this new garden would go.
 
 
When saving asparagus, pick them when the fruit is red, usually in late fall.
You will find them on tall female asparagus ferns.
I have read that the male plants are the thicker meatier plant, while the female is thinner and woodier, making the male more palatable.
 
 
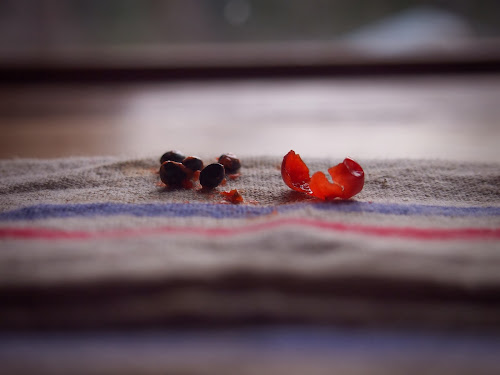
Squeeze the black seeds out the berry.
You usually get one to five seeds out of one berry.


For storage, place the seeds into a kitchen strainer and rinse in cool water.
They wash easily.
Lay them out on a towel to dry, leaving space between the seeds for air flow.
Once they have dried, place them in a sealed container.

 
I have read from a couple different sources that the seeds need to go into the freezer for stratification before planting in early spring.
This means simulating winter conditions to aid spring germination.
You can keep the seeds in the freezer for the winter or place them in the freezer 6 to 8 weeks before starting your seeds.
 
Start the asparagus in pots or containers and plant them when they are a year old in early spring or late fall.
This helps protect the plant during it's most vulnerable stages.

When spring nears I will share the process of preparing the seeds and asparagus beds.


Sunday 20 October 2013

Vermiculture, by Kira


Vermiculture, is also known as composting using red worms in a bin.
Red wigglers are used to turn your kitchen scraps into usable compost for the garden.
Our friends gave us a bucket of worms last week to start our own red wiggler compost; it's exciting!
There are many different ways to set up your worm composter.
I thought I would share how the kids and I set up ours.
 
 
Materials:

Two plastic bins
One lid
Drill
Red wigglers
Compost
Worm bedding


The two bins will be stacked.
In the upper bin drill six to eight holes into the bottom of the bin.
This will allow the compost tea to drain into the second bin, keeping the bin from getting too wet.
Drill holes all the way around the top of the upper bin (the same bin you drilled the holes into the bottom).
Space the holes an inch or two apart and do two rows.
These are for air circulation.
Stack the bins (the one with all the holes on top).
Put your worms in first. Include some soil for them to wriggle in.
Then add some compost and bedding.
The lid can go on once you are happy with the set up of the inside of your worm bin.


Because I am just new to worm farming I don't have much advice.
But this link is helpful in getting started.


Tuesday 8 October 2013

Roasted Tomatoes and Garlic, by Kira


This season we ended up with about a bushel and a half of tomatoes.
Before most of them had time to ripen we had a severe frost warning
and so I pulled them all.
Because they are all ripening at different times I don't want to can them.
Instead, I roasted the tomatoes with garlic, puréed, and then froze the purée.


Preheat oven to 400C.
Dice the tomatoes and lay them out on baking sheets.
Drizzle with olive oil and sea salt.
Place the garlic in a small oven-safe bowl or wrap in tin foil with a bit of olive oil.
Bake for about 40 to 50 minutes or until the tips start to blacken.
Remove from the oven and let cool.
Peel the roasted garlic.
Purée the tomatoes and garlic in a food processor .
Then divide the purée into 250g portions and freeze in individual containers.


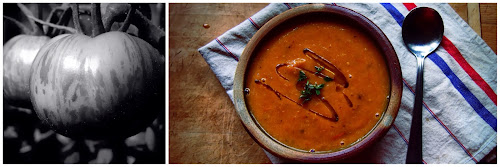
For tomato purée soup just add a little water to your purée and heat.
Drizzle with a little olive oil and top with fresh thyme.


Saturday 5 October 2013

Transition


The only constant in the universe is change.
Yet we cling desperately to each moment.

Despite being faced with catastrophic climate change, global economic upheaval, continuous war, and widespread human tragedies, a quiet ignorance persists in our daily lives.

It is becoming painfully clear that the Western industrial way of life is coming to a close.
Even the mainstream media is reluctantly printing stories that allude to unavoidable crises in the near future.
Regardless of where you stand on the issues at stake,
change is inevitable.
It is the irrefutable law of the universe.

We argue about peak oil and energy policy.
We argue about food security.
We argue about the health of the global ecosystem.
We argue about economic strategies.
All the while, change continues to bear down on our way of life.

Change can occur in any number of ways.
It can come quickly, or gradually, peacefully or violently.
We can embrace change or attempt to reject it.
This could be the end, or the beginning.
The question is, do we rage against change,
or adapt?
It is a question of survival.

Not everybody is oblivious to the urgency of change.
At the risk of being marginalized by friends and family, thousands of people are quietly preparing themselves.
There are also those who are taking the message to the masses in the hope that imminent threats are taken seriously; often at great risk.
This is usually viewed as fear mongering.
But fear is relative to perception.
For some, change may mean being plunged into helplessness.
For others, change heralds a transition to a better world;
the opportunity to grow as a species and make amends for past wrongs.
Is it spreading fear or bringing hope?
Your answer may indicate how prepared you are for change.


How do you prepare for an uncertain future?

Prepare by building strength and resilience into your family and your community.
Look closely and you will see the weaknesses.
Poverty and hunger.
Disproportionate wealth distribution.
Growing energy costs.
A precarious standard of living.
Environmental degradation.
The hardening of our hearts and dissolution of community.

Even if you believe the threats as being little more than paranoid conspiracy theories, and that the world will carry on as is,
bear in mind society’s many frailties.
The same issues associated with preparing for change are the very debilities that remain outstanding as we struggle to maintain the social fabric.
Society, in itself, is our greatest strength, as we work together for the common goal of survival.
Why would we hesitate to take the steps forward that strengthen us all?
A healthy community is in everyone’s best interest.

Fostering strong and healthy communities ensures that change is met with
strength and determination.
After all, the spirit of cooperation has helped human civilization persevere through countless periods of great change throughout history.


Sunday 29 September 2013

Beta Grapes, by Kira


The Beta grape is a cross between the Concord and Wild Riverbank.
The skin is sweet, the flesh is tart and they have an intense grape flavour.
 
This past summer one of our two vines was blown over when a bad windstorm came through.
Andrew and I took the opportunity to espalier the grape vines properly.
We used steel t-posts in between and on either end of the vines and then ran steel wires to run the vines on.
I lost a lot of young grapes while pruning, untangling and hanging the vine that had blown down.
The other vine was loaded with grapes and still standing so I decided to wait on pruning it until after harvest.
A couple days ago the kids and I harvested the grapes and off the one vine and we got nearly a bushel of grapes!
We will be busy in the kitchen this week making fruit leather and grape jelly.


Tuesday 17 September 2013

A Milking We Will Go!, by Kira


Thank you, sweet Georgie!